
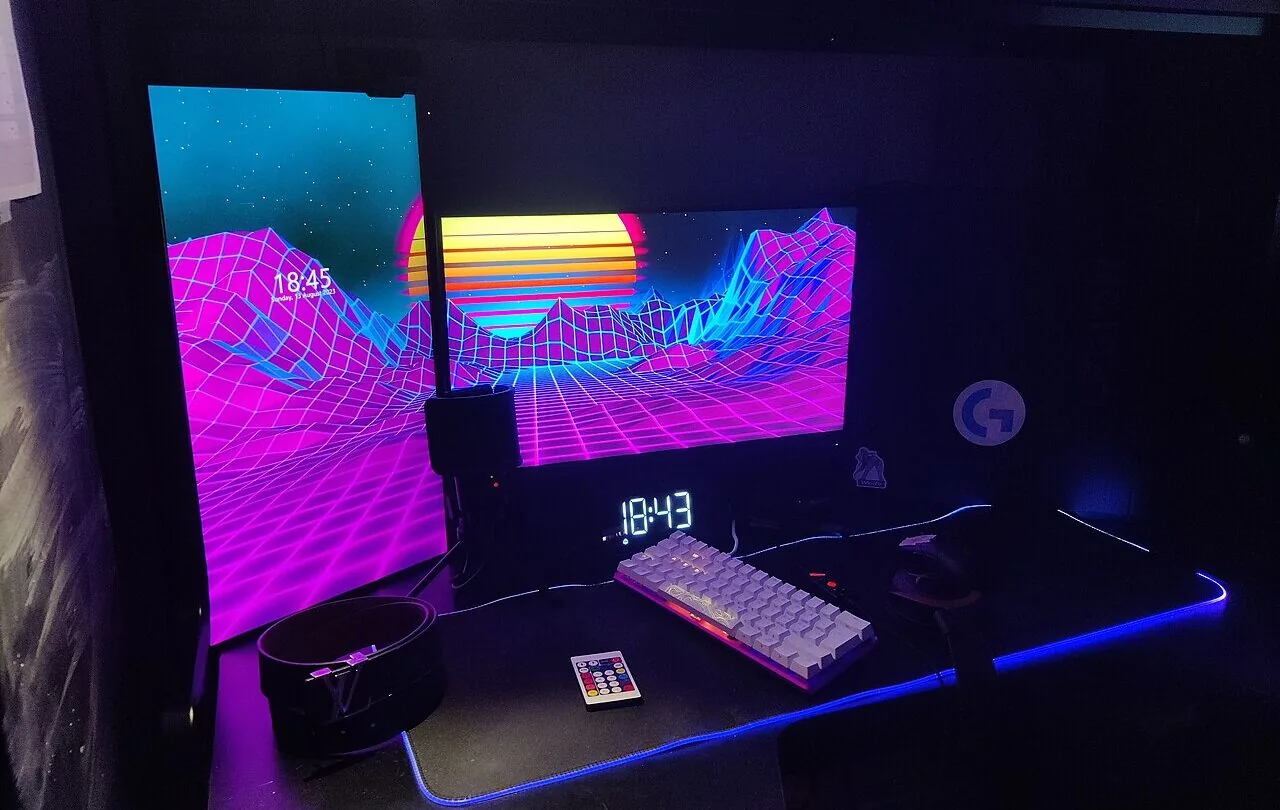
A new monitor can look wrong for reasons that have nothing to do with a defective panel. The wrong refresh rate, a bad cable, an aggressive overdrive mode or an HDR setting can all create symptoms that feel like hardware trouble. At the same time, real panel defects such as dead pixels and severe uniformity problems are easiest to deal with while the display is still inside its return window.
The safest approach is to separate configuration problems from panel problems with a short, repeatable test routine. Do it before you spend hours changing color settings or decide that the monitor needs to go back.
Start with the boring settings first
Before testing the panel itself, confirm that Windows is sending the display the mode you bought it for. Use the monitor’s native resolution and select the intended refresh rate. A 144 Hz, 165 Hz or 240 Hz monitor running at 60 Hz will look less fluid even though the LCD panel is not faulty.
Check the cable and input as well. Some combinations of resolution, refresh rate and color depth require enough link bandwidth that an old or unsuitable cable can prevent the expected mode from appearing. If the display randomly blanks, sparkles or loses signal, try another known-good cable and another port before blaming the panel.
Dead pixels and stuck pixels need solid colors
A normal desktop wallpaper is terrible for finding pixel defects. Use full-screen solid fields: black, white, red, green and blue. Clean the screen first, because a tiny dust spot can look surprisingly similar to a dead pixel.
A pixel that stays dark on bright fields may be dead. A subpixel that remains lit in one color is often described as stuck. The exact warranty or return treatment varies by manufacturer and model, so do not assume that one defective pixel automatically qualifies for a panel replacement.
If you want one place to cycle through these patterns, you can open a browser-based monitor test and run the solid-color, gradient and motion checks full-screen. EIZO also provides a monitor test specifically designed to assess items such as defective pixels, uniformity and sharpness.
Banding is not the same as a bad pixel
Banding appears when a smooth gradient breaks into visible steps or stripes. It can come from the content, limited color depth, the graphics output path, monitor processing or the panel itself. That makes it a poor candidate for a one-image verdict.
Use several grayscale and color gradients. If the same bands stay in the same physical positions across different patterns, the display deserves closer attention. If the pattern changes with the source image or browser, the cause may be in the content or signal path instead.
Also distinguish banding from dirty-screen effect or uniformity variation. Uniformity problems show areas that are consistently brighter, darker or tinted even when the screen is displaying one flat color.
Backlight bleed and IPS glow are easy to over-test
Dark-room photographs can make almost any LCD look worse than it does in normal use. Test a black screen at the brightness level you actually use, from the normal seating position. Do not judge the monitor only from a long-exposure phone photo taken in a completely dark room.
Backlight bleed tends to appear as fixed brighter areas near edges or corners. IPS glow changes more with viewing angle and your position relative to the panel. Neither should be confused with the brighter gray that many LCDs naturally show instead of true black.
If a bright patch is obvious in normal dark content at your normal brightness and seating position, that is more meaningful than how dramatic it looks through a camera.
Motion blur can be the panel, the settings or simply the refresh rate
All sample-and-hold displays show some perceived motion blur, and pixel response time adds another layer. A monitor’s overdrive setting attempts to speed pixel transitions, but the highest setting is not always the best one. Too much overdrive can create inverse ghosting—bright or dark halos that trail moving objects.
Use a repeatable moving pattern and compare the monitor’s overdrive modes. Start around the normal or middl