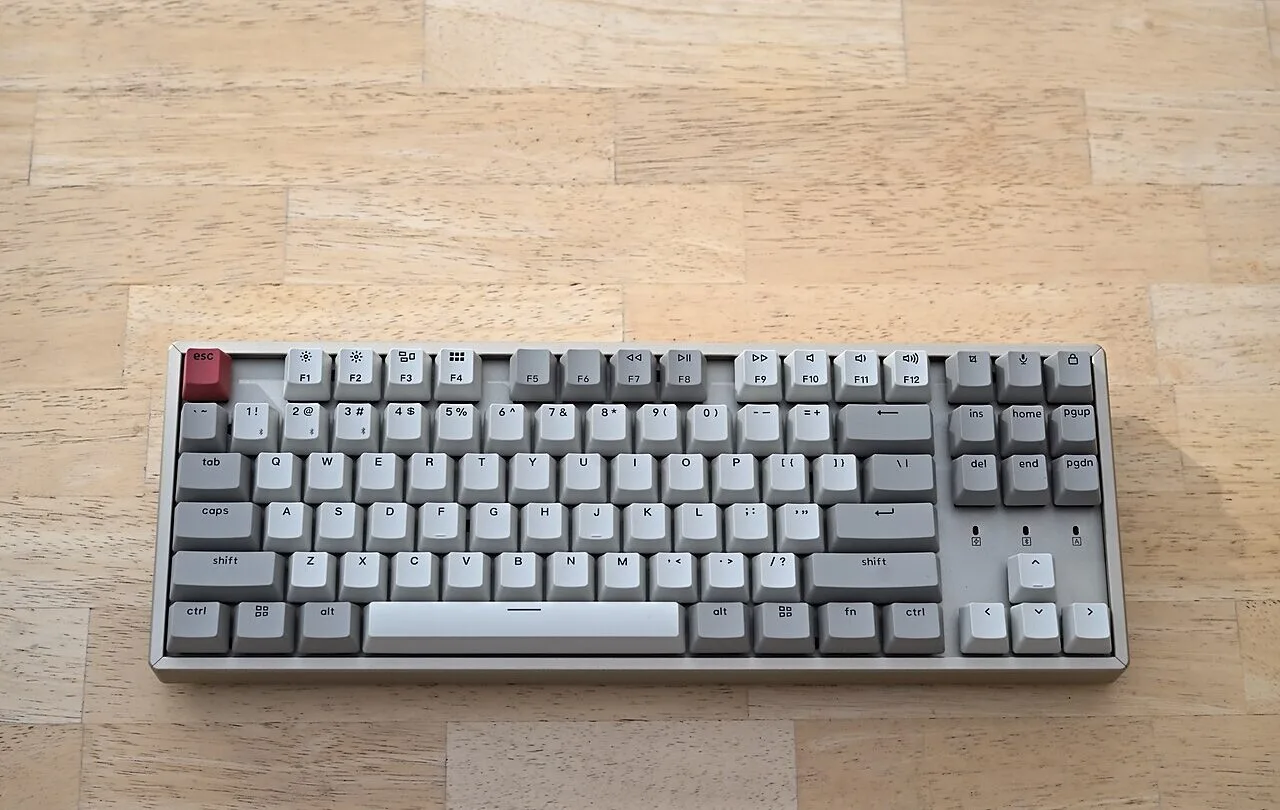
A used mechanical keyboard is one of the easier PC peripherals to buy used—until you discover that three keys double-register, the spacebar stabilizer rattles, the USB port disconnects when the cable moves and the wireless battery lasts an hour.
Photos tell you almost nothing about those problems. A proper pre-purchase test takes only a few minutes and is much more valuable than judging whether the keycaps look clean.
1. Test every key, not just WASD
Open a text editor or keyboard tester and press every key at least once. Function keys, arrows, navigation keys and the number row are easy to forget because they are not used constantly in games.
Then repeat several common keys ten or twenty times with short deliberate presses. You are looking for missed inputs, a key that remains logically held after release, or one physical press that sometimes produces two inputs.
If you have a browser available, you can run a browser-based keyboard input test to check individual keys and common multi-key combinations without installing software. Do not type passwords or private text while any keyboard tester has focus.
2. Separate key chatter from normal repeat
Holding a key is supposed to repeat after a short delay. Chatter is different: one quick press and release produces two or more registrations. A seller can easily miss an intermittent problem if each key is pressed only once.
Test suspicious keys repeatedly and compare them with neighboring switches. Microsoft also recommends checking a problematic keyboard on another computer when possible; if the same fault follows the keyboard, that is strong evidence the device rather than Windows is responsible.
3. Check the switches and hot-swap sockets
If the board is hot-swappable, ask what switches are installed and whether any sockets have been repaired. A poorly seated switch, bent pin or damaged hot-swap socket can behave like a failing switch.
You do not need to pull switches during a quick marketplace transaction, but look for switches that sit at odd angles or keys with dramatically different travel. If the seller says the board was recently modified, ask what was changed.
For a board you already own, Logitech’s support guidance for abnormal keys starts with non-destructive cleaning such as compressed air or a soft brush. Do not spray random liquids into a keyboard you have not even bought yet.
4. Feel the stabilizers and large keys
Space, Enter, Backspace and Shift use stabilizers on many mechanical boards. Press each key near the center and near both ends. Excessive binding, a key that returns slowly or a stabilizer wire that has come loose can make a keyboard unpleasant even when the electrical input is fine.
Noise is subjective. A rattly spacebar may be acceptable on a cheap used board if you plan to tune it, but it should affect the price. A key that physically sticks is a functional problem, not a sound preference.
5. Test multi-key input if you actually game
Marketing terms such as N-key rollover and anti-ghosting are easy to repeat in a listing, but the useful question is whether the combinations you use register correctly. Hold movement keys together with Shift, Ctrl, Space and nearby action keys.
Some combinations can be intercepted by the operating system or browser, so a single failed shortcut does not prove the keyboard is defective. Test the individual keys first, then several realistic combinations.
6. Move the cable and connector gently
For a wired or detachable keyboard, connect it and gently move the plug during normal use. The board should not disconnect when the cable shifts slightly on the desk. A loose USB-C socket can turn an otherwise good keyboard into a repair project.
If the cable is detachable, confirm that it carries data and not merely power. Try another known-good compatible cable if the seller has one available.
7. Test every connection mode you are paying for
A tri-mode keyboard can support USB, Bluetooth and a dedicated 2.4 GHz receiver. Test the modes you intend to use. Make sure the receiver is included, because proprietary dongles are not always easy or cheap to replace.
For wireless use, pair the keyboard, type continuously for a minute and move a normal distance from the computer. Look for missed keys, delayed bursts of input or frequent reconnects. Check whether the board wakes and reconnects normally after a short idle period.
8. Check the battery and charging behavior
A ten-minute test cannot measure true battery capacity, but it can reveal obvious failures. Confirm that the keyboard charges, runs when unplugged and does not shut off immediately after the cable is removed.
Battery life estimates in listings are difficult to verify because lighting brightness, wireless mode and sleep settings change consumption dramatically. Treat an old rechargeable battery as a wear item, especially on a heavily used wireless gaming board.
9. Inspect what is actually included
Replacement keycaps, switch pullers and cables are easy to buy. A missing proprietary receiver, unusual spacebar, damaged daughterboard or rare mounting hardware can be much more annoying.
Check that the layout matches what you expect. A compact 65% or 75% board may omit keys you rely on for work. Also verify the physical language layout and key sizes if you plan to replace the keycap set later.
Cosmetic wear matters less than consistent input
Shiny keycaps and a scratched case can be perfectly acceptable on a good used keyboard. Intermittent inputs, disconnects and damaged sockets are more important because they affect every day of ownership.
The best used keyboard is not necessarily the cleanest one. It is the one that registers reliably, connects the way you need and is priced honestly for its wear. Spend five minutes testing those things before you pay and you can avoid most of the expensive surprises hidden behind a nice marketplace photo.
Olivia Grant
Covers laptops, displays, mice, keyboards, headsets and the hardware people actually use at their desks every day.
More from Olivia Grant →