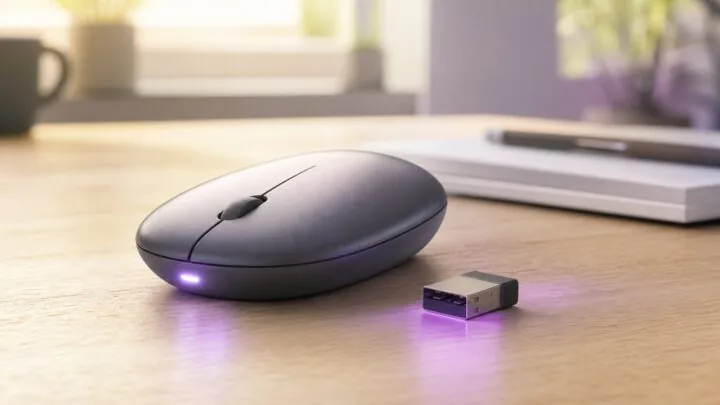
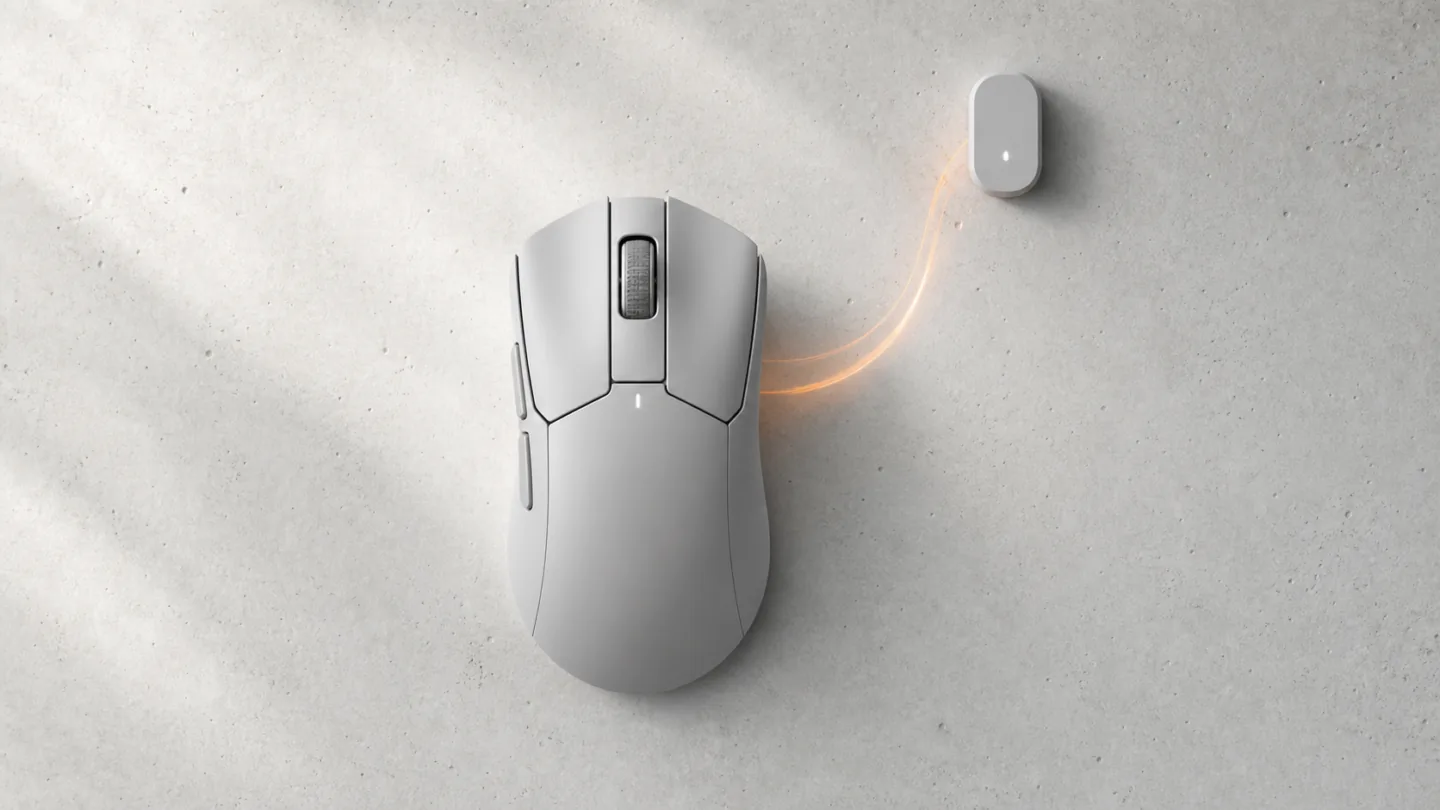
A lost Razer wireless dongle does not always mean the mouse has to be replaced. Razer provides pairing utilities for a number of supported wireless mice so that a compatible replacement dongle can be linked to the mouse again. The important word is compatible: different Razer mice and dongle generations do not automatically share the same receiver.
Razer’s current support page lists the models covered by its Mouse Pairing Utility and also separates that tool from the USB HyperSpeed Dongle Utility and the pairing flow for the HyperPolling Wireless Dongle. Use the utility named for your exact hardware rather than downloading a random Razer pairing program from another model’s support page.
Identify the mouse and dongle before you start
Find the model number on the bottom label of the mouse or in Razer Synapse. Compare it with Razer’s supported-device list for the Mouse Pairing Utility. If you are using a replacement dongle, verify that the seller lists it for your mouse model or for the exact compatible family.
A standard HyperSpeed receiver, a multi-device HyperSpeed dongle and a HyperPolling Wireless Dongle can have different pairing workflows. For example, the HyperPolling Wireless Dongle is managed inside Razer Synapse with its own Pairing Utility and only works with supported devices.
Download the current Razer pairing utility
Use Razer’s official support page for the mouse or the consolidated Peripheral Pairing Utility page. Razer updates these utilities, so an old copy saved from another mouse is not the best choice. Close other Razer applications if the utility asks you to do so.
For the Mouse Pairing Utility flow documented by Razer, the usual setup is to have the replacement wireless USB dongle connected to the PC and the mouse connected to the PC by its USB cable. That gives the pairing tool direct access to both devices while it writes the new association.
Pair the Razer mouse to the replacement dongle
- Download and run the pairing utility that supports your exact Razer mouse.
- Select the correct mouse model if the utility asks.
- Plug the compatible wireless USB dongle into the PC.
- Connect the mouse to the PC with its USB data cable when instructed.
- Click Pair and wait for the process to complete.
- Close the utility, disconnect the cable and switch the mouse to its 2.4 GHz wireless mode.
Do not unplug the receiver or mouse while the utility is actively pairing. If the application closes Razer Synapse automatically, let it finish rather than reopening Synapse in the middle of the process.
If you are pairing a HyperPolling Wireless Dongle
The HyperPolling Wireless Dongle uses a different workflow. Razer’s current instructions say to plug the dongle into the PC, open Razer Synapse, select the HyperPolling Wireless Dongle and open its Pairing Utility. The compatible mouse should be in 2.4 GHz mode, not connected by USB, and close to the dongle while Synapse scans.
That distinction matters because following the normal replacement-receiver steps for a HyperPolling dongle can leave you stuck even though both pieces of hardware are working. Always start from the support page for the receiver you actually own.
What to check if the pairing utility fails
Try a direct USB port, not a hub, and use a USB cable that carries data rather than a charge-only cable. A charge-only cable can power the mouse while preventing the utility from communicating with it. If the tool cannot see the receiver, reconnect it and test another port.
Update Razer Synapse and check the mouse support page for a firmware updater. If the replacement receiver came from a different model, stop and confirm compatibility before repeating the same process. Repeated pairing failures with an incompatible dongle will not be fixed by reinstalling Synapse.
Test the mouse after pairing
Once the utility reports success, unplug the cable, leave the receiver connected and use the mouse in 2.4 GHz mode. Check pointer movement, left and right click, the wheel, side buttons and any model-specific buttons. If the mouse disconnects when moved away from the receiver, test again with the receiver closer to the mouse and away from dense clusters of USB 3 devices.
For a quick independent check, a browser mouse test can help confirm that the newly paired connection is delivering the expected click and scroll events without requiring another driver utility.
Pairing is not the same as fixing a hardware fault
If the mouse pairs successfully but still double-clicks, drops scroll steps or misses a side button, the receiver may not be the cause. For a broader hardware inspection, use our used gaming mouse checklist before blaming the dongle. Those symptoms can come from switches, the wheel encoder, battery condition, interference or the mouse firmware itself.
Test the same mouse wired if the model supports it. If the input fault exists both wired and wireless, focus on the mouse. If it only appears over 2.4 GHz after a successful pairing, compare another USB port, receiver position and another computer before replacing more hardware.
Olivia Grant
Covers laptops, displays, mice, keyboards, headsets and the hardware people actually use at their desks every day.
More from Olivia Grant →